Ben Eadie from Mechanical Mashup - Canada's greatest knowitall contestant provides us with a great way to get rid of glue on PVC projects by using pins
Watch this video to find out how
Now, although this is not directly a Strength related idea it could be used to put together these DIY PVC parallettes and if you use your imagination it could be very useful in some other DIY strength projects.
Here's a superb set of homemade dumbbell and pipe ideas from Sherm of Shermworks whose been good enough to put his ideas down onto a PDF for us.
Pictured below is Sherm's DIY Olympic Dumbbell set up, I especially like the collars which is usually a problem to get right when making your own DB's. Awesome idea
Sherm is also the inventor of the THE FREE SPOTTER (pictured below), which has had rave reviews from some of the top guys in the Strength and Fitness Industry such as Louis Simmons of Westside Barbell.
The idea certainly is unique and innovative, for more information check it out here
More awesome DIY Strength Training Gear to come from Sherm later in the week
To start 2013 in the right way I thought it about time to share my favourite DIY item with you - the trusty DIY Box.
I made the box below about 7 years ago and it's been my best friend ever since. As you can see the box has been on many home DIY adventures with me and has followed me around 2 houses decorating them from top to bottom and even helped me rebuild some of them.
Not only is it perfect for home DIY but it is usually features in my home training sessions in one way or other.........
I've jumped onto it, jumped off it,stepped on it, sat on it and pressed barbells, dumbbells, kettlebells you name it, I've laid down on my front and back and even bench pressed off it and it also gets put on one end to house cups of coffee, video cameras, chalk and grippers.
It is awesome and YOU NEED ONE!!
How to Make you Own DIY Box I made this particular box from marine ply offcuts that I had left over from building a new shower wall but any plyboard would do (5 or 6mm) , the other wood is around 2"x1" (and the cheapest you can get) Dimensions 3' x 16" x 16" = 90cm x 40cm x 40cm The way you construct the box is not too important but using the picture below you can see how I put it together with 3 end pieces (one in the middle - not technically an end piece) and a similar fashion for the top with 9 inches between each baton going across.
Most importantly the box needs to be screwed together well and fully boarded on at least 2 sides to make it sturdy. Although I only boarded completely 2 sides as I ran out of wood so ended up with gaps on 2 sides which actually does make the box easier to carry.
I recall several years ago when I used to post pretty regularly on Rosstraining.com's forum, I got challenged by a guy named Andy Patterson (aka: The Fucker) to a conditioning challenge called Demolition Day. That particular year's challenge was called the Magic 200. It was pretty simple: Take Ross Enemait's Magic 50 workout and multiply it by four. Not one to back down from a challenge from a guy who sports the goofiest chrome dome that I've ever seen on all internets, I took him up on it.
There was just one problem: I had never done a one-armed snatch. I didn't know how.
A quick internet search led me to another, fellow blogger acquaintance, Sally Moss. She had a great description of how to do this movement. It's still there, along with a bunch of other good tutorials.
I'll be the first to admit it: learning movements off the internet sucks. It's not easy to find people who know what they're doing and can show it to you it ways that you can understand. Just try looking up how to bent press. That's a fucking nightmare right there...and certainly don't go to the abominable Bodybuilding.com (WARNING: dont' click that link!) to find out. That move is the epitome of the problem we face when we isolated garage gorillas try to get back to the gold old days of strength training.
It can be done though. I paid close attention, practiced and completed the challenge. Even when I had the opportunity to go to an EXTREME HARDCORE gym where my one-arm snatch was critiqued by someone who knows more than I do about it than I do, I was surprised that there was so little to clean up in the first place.
Once again, I'm not claiming to be an expert and anyone who dares call me that will be subject to flogging upon my meeting them but I do have my guidelines that I'm about to impart on you on what has helped me learn some of the more loopy and obscure strength stuff out there when I have marginal-to-non-existent contact with the larger gym universe.
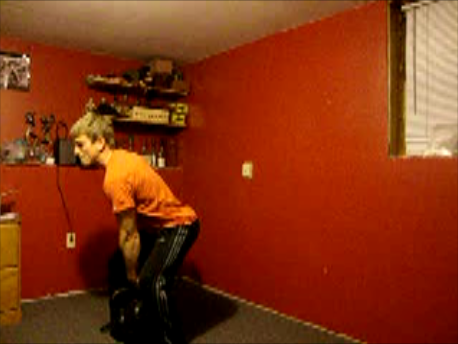
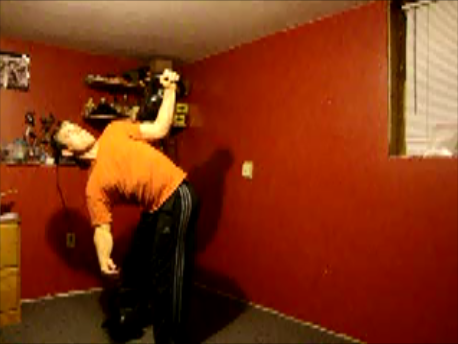
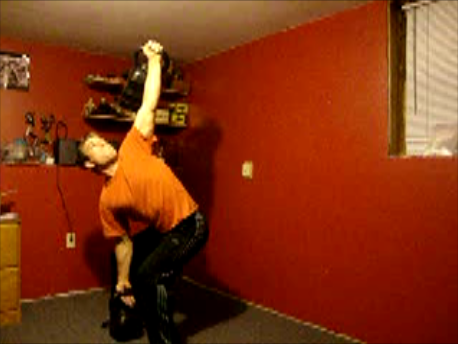
This is the video I most credit for helping me learn how to bent press, BTW
1. Find Good Material To Learn From The best teachers are those who can break down movements to the fewest, important directions to get the exercise done right. Without anyone to be there to critique what you're doing, the fewer things you have to keep in mind the better you'll learn. Good learning material also has good, if odd, cues to get the move right. My friend Chip gave one of the most bizarre set of cues for doing a deadlift right not too long ago: Crush your armpit trolls and squeeze your sphincter. Strange, but it works. I'm not kidding...look it up! I've also noticed that well-known, good teachers who record seminars are often training gold. I would imagine if you're going to teach a group of people effectively and quickly, you need to be able to refine your directions down to the most basic elements.
2. For God's Sake, TAKE IT EASY! I hope this one is far more obvious than the first tip. Don't go for the biggest chunk of weight or the hardest variation on the move right from the get-go. Take things easy. Very easy. Take long breaks between attempts. Shelve the workout musice for now. Put the movement you're trying to learn at the beginning of your work out, treat it like practice, and don't try to get some of that muscle soreness that we all crave from our work outs. I started bent pressing with a 35 lbs kettlebell back in Summer, 2010. I can now bent press a 111 lbs kettlebell. Patience pays off. It's not a coincidence that impatience alliterates with injury. We need to accept the fact that learning alone usually takes longer. It's the drawback to being a loner.
3. Pay Close Attention to Where You're failing One thing that I try to do when move a bit past the point of practice and more towards working out is I try to pay attention to what my form is when I start and where it is when I finish. Something's going to be worse than when I started. Whatever that something is will tell me where I'm weak. Figuring this out also gives me feedback as to what I need to improve with execution or what I need to strengthen.
Certainly don't ever miss an opportunity to get "professional" help. After all, every major book and video that you can dig up on the topic at hand will warn you ahead of time that that what you're about do something that could kill you to death if you're being an idiot so you should find someone way smarter (with lots of acronyms after their name) than you to show you how to do it. It's still a good idea though. So, never turn that up. Otherwise, you're left to your own intelligence, patience and observation powers to learn how to move in strong ways. It's entirely doable though.
A little over a year ago, I started expanding my Ironmaster set by picking up a second handle. The first thing I tried with two kettlebells was doing a two hands anyhow with a 65 lbs and a 55 lbs KB. It was the start of a "lift" that I fell in love with ever since and beginning on that modest incursion into two hands anyhow lifting, the goal that floated around in the back of my mind was to be able to do my bodyweight (175 lbs, or 180, depending on how much ice cream I eat) in this lift.
It's been a slow climb but I can now confidently do 176 lbs (111 lbs on one KB, 65 lbs on the other). Calling this pile of movements a lift is a misnomer since it's actually three or four lifts into one. They all have the same basic core move: bent pressing one weight heavier than the other. What kinds of weights lifted, how the first weight gets to the starting position, how the second weight is lifted, and if how the weights get put down can change. My Two Hands Anyhow looked like this:
1. Clean the 111 lbs 'bell. 2. Bent Press it, grab the second 'bell. 3. Curl it up to a racked position. 4. Press it overhead. 5. Bringing the 65 lb'er down to the ground via partial windmill. 6. Carefully lower the big guy with two hands to the ground.
While I have a natural attraction to the odd when it comes to working out, I learned a lot from this whole excursion into Two Hands Anyhow excellence.
First and foremost, the bent press got rid of any lingering doubt of dropping the first weight. Looking at the bottom of a pack of iron that weighs as much as a petite woman will either force most to get over it or get your skull stoved in. I did. It'll also make you bilk every ounce of strength you have on that side of your body. I enjoy these kind of do-or-die challenges in my training.
My right-hand bent press isn't as pretty in video
Second thing that I absolutely had to get better at if I was going to bent press any kettlebell over 85 lbs was cleaning and racking the KB properly. I got into the habit of having a wide stance when I was using a sandbag to bent press. That wide stance played hell with heavier KB's. I just couldn't pop that bitch up enough to get it into a good rack position with my feet so wide. My poor wrist and elbows paid the price. Good, focused practice made permanent and I got that under control.
Not the most fun part of the lift
The biggest carry-over benefit I got from this 15 month journey came from pressing the second weight overhead. When you've already got a skull-crushing quantity of metal in an overhead position, you can only press another 65 lbs one way: THE RIGHT WAY! No leaning forward, backward or to the sides. Otherwise, you risk dropping the first weight. Not fun.
I feel like Arthur Saxon already!
Most people I've seen bent press don't bother to put down the weights. They simply drop them. I opted to partially windmill the second, lighter weight. Windmilling when the bottom hand has a weight actually makes the exercise easier. So, it was good practice to getting the quantity of iron I can windmill up. When I traveling by car, I usually brought only one kettlebell. So, a common practice on those trips was to substitute a bent press/windmill for my Two Hands Anyhow work. I don't think this would have been possible had I not thrown in the windmill move into my Two Hands Anyhow.
So, there's been some practicality to doing this for so long but really, this is just a fun way to lift weights. As long as I've had the equipment, I've done this lift twice a week since pretty regularly since that first stab at the two hands anyhow back in late-January, 2011. It's easily my favorite lift and now that I've maxed out the capacity of my Ironmaster Kettlebells on the bent press, I'm looking forward to trying out bent pressing on a barbell.
For those who don't know, I'm a bit of a Grip Strength Fan! I love training grip and enter competitions to test my strength One of the common events in grip comps is closing grippers
Not the kind you find with plastic handles that come with skipping ropes, but the big torsion/spring loaded type (the pic here is of a Vulcan Gripper from David Horne's World of Grip and is in my opinion the Daddy of All Grippers!)
To train for grippers the best device is the gripper itself, however there is device that is also great for training hand strength and hence gripper strength and that is The Secret Weapon
To go ahead and buy a Secret Weapon would cost quite a bit of cash, however I've been coming up with a few homemade versions of this Grip Machine (which I haven't put into practice yet), but have found somebody has already made one (and very good it is too)
The principle is very simple, the device mimics the closing of the hand like when you close a gripper but allows you to microload the weights.
Materials Required a fairly straight forward: Wood Pipes Bolts and weights